


среда, 14 июня 2017 г.
how to do that along with how to crop out the black borders you get when you do screen captures
I took a brake from capping to write a quick tutorial. This has been cross posted from my LJ. Enjoy...
Please bare with me this is the first time I have written a tutorial.
Some of you may already know how to use Irfanview to batch convert images to jpg files and resize images I will cover how to do that along with how to crop out the black borders you get when you do screen captures. Cropping will give your caps a cleaner look and you will get a slightly smaller file by cropping.
I will be including images and will be as detailed as possible. So even if you have never used Irfanview you'll be able to crop :)
Example:
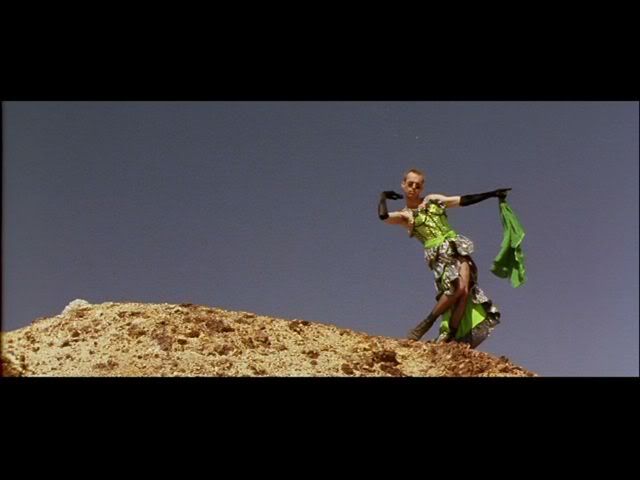
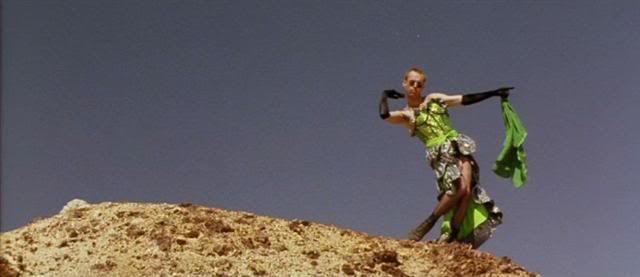
Before After
1. Start by opening Irfanview. you can drag one of the images from the group you plan on working with. it's best to choose one of the lighter images since it will be easier to see exactly where the actual image is so you can cut out the black better.
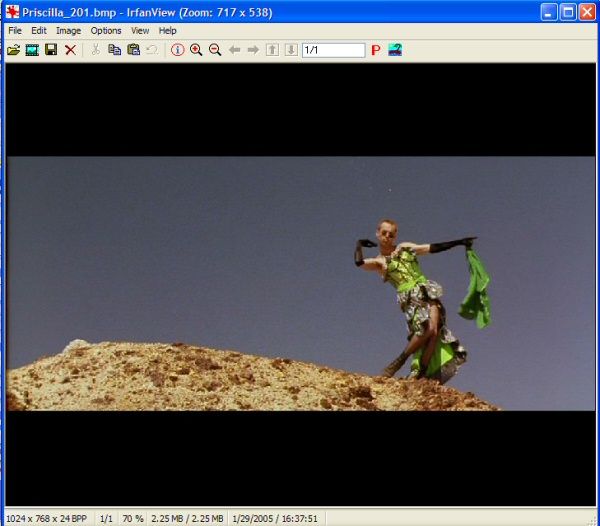
Image 1
2. With your mouse arrow put it on the top right of the image (minus the black borders). left click and move your mouse until you have outlined the area you want to crop. the first image below if you click on the thumbnail you will see what the image looks like if you cropped out the black borders... the second image is just a close up of the crop outline.

Image2 ...... Image2a
3. once you have your image cropped outlined. we need to open up the batch conversion area. You can use the short cut By hitting 'B' on your keyboard or..
Goto File>>> Batch Conversion/Rename
Input Files:Now that you have it open you need to add the files you wish to crop. If it's the whole folder of images simply click the 'Add all" button or add highlight and add individual files.
Output file area: it's best to have it pointing to a sub folder with in the image directory of the files you are converting.
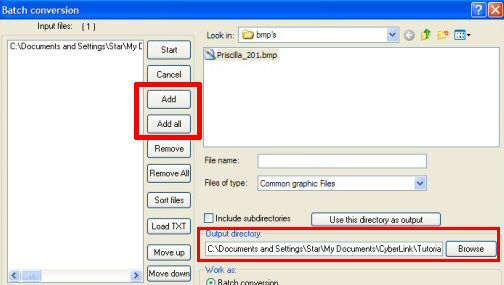
Work as area: These are the settings if you plan on just converting the images. if you also plan on renaming them simply select the option you want. when renaming the file replace Filename with what ever you want. the ### represents how many numbers you want it to use. so "Priscilla###" would result in "Priscilla001" type of file name.
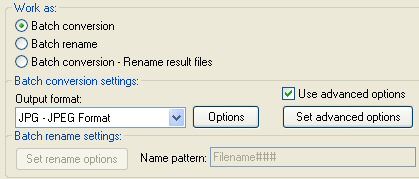
5. Now to the cropping: in the work as area click the "Select advance options" button.
Crop: Notice the highlighted areas.if you selected the areas you wish to crop you will see the settings you need to enter in the crop area. don't worry about the hight and width being larger if you want the image smaller we will deal with that in the next step.
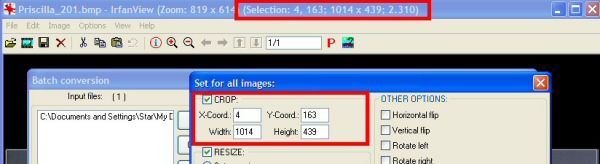
Resize: if you plan on resizing the images just check the resize box and enter the dimension you would like. It's best to check the "set long side to" or "set short side to" this way you can avoid having to worry about aspect ratios and what not.
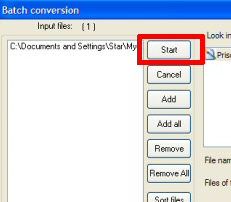
6. Now that you have added all of your files to the File Input area and your settings are set simply press the start button and the conversion will start.
7. and you will now have a neatly cropped set of screen caps Like this one!
The images used are screen caps are from the movie "The adventures of Priscilla Queen of the Desert" that I posted to
 cap_it Images are posted (Here)
Overall I hope this was helpful. Please let me know if there is anything I can change/improve or explain better.


0 коммент.:
Отправить комментарий